Are 3D Prints Waterproof? Testing Infill Percentages in Fusion and PrusaSlicer
⚙️ Affiliate Disclosure
Some banners or links on this page are affiliate links, meaning I may earn a small commission if you purchase through them — at no extra cost to you.
This helps support The Maker Letters and future Fusion tutorials.
Are 3D Prints Waterproof? Testing Different Infill Percentages
We’re testing how different infill percentages affect waterproofing in 3D prints.
To find out, I designed one simple vase in Fusion and printed it three times — each with a different infill setting.
Same model. Same material. Different infill.
Then I filled them with water and waited to see if any leaked.
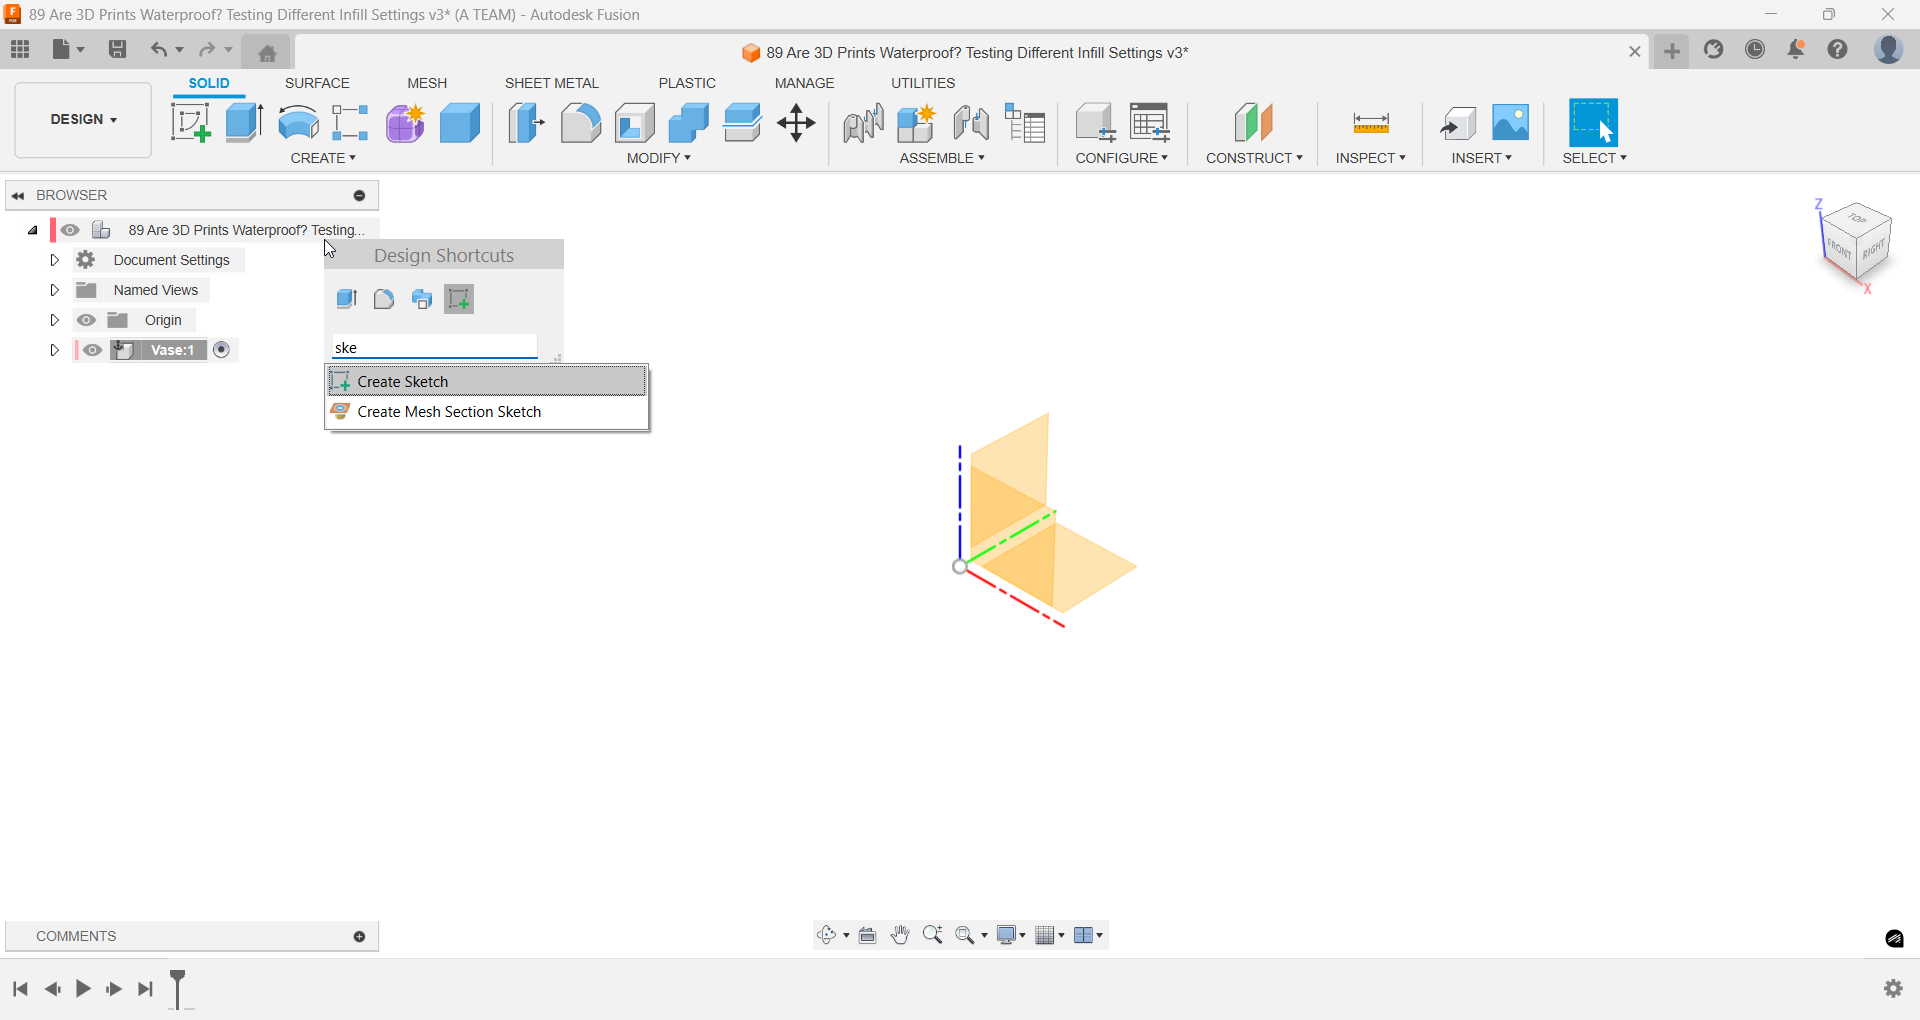
Step 1: Create the Vase in Fusion
Start by creating a new component called Vase.
This keeps everything organized — the first rule of Fusion.

Creating a new component called “Vase” keeps the timeline organized and easy to edit.
Create a new sketch on the top plane and draw a circle with a diameter of 50 mm.
That defines the base of the vase.
Creating a new sketch on the top plane to define the vase base.
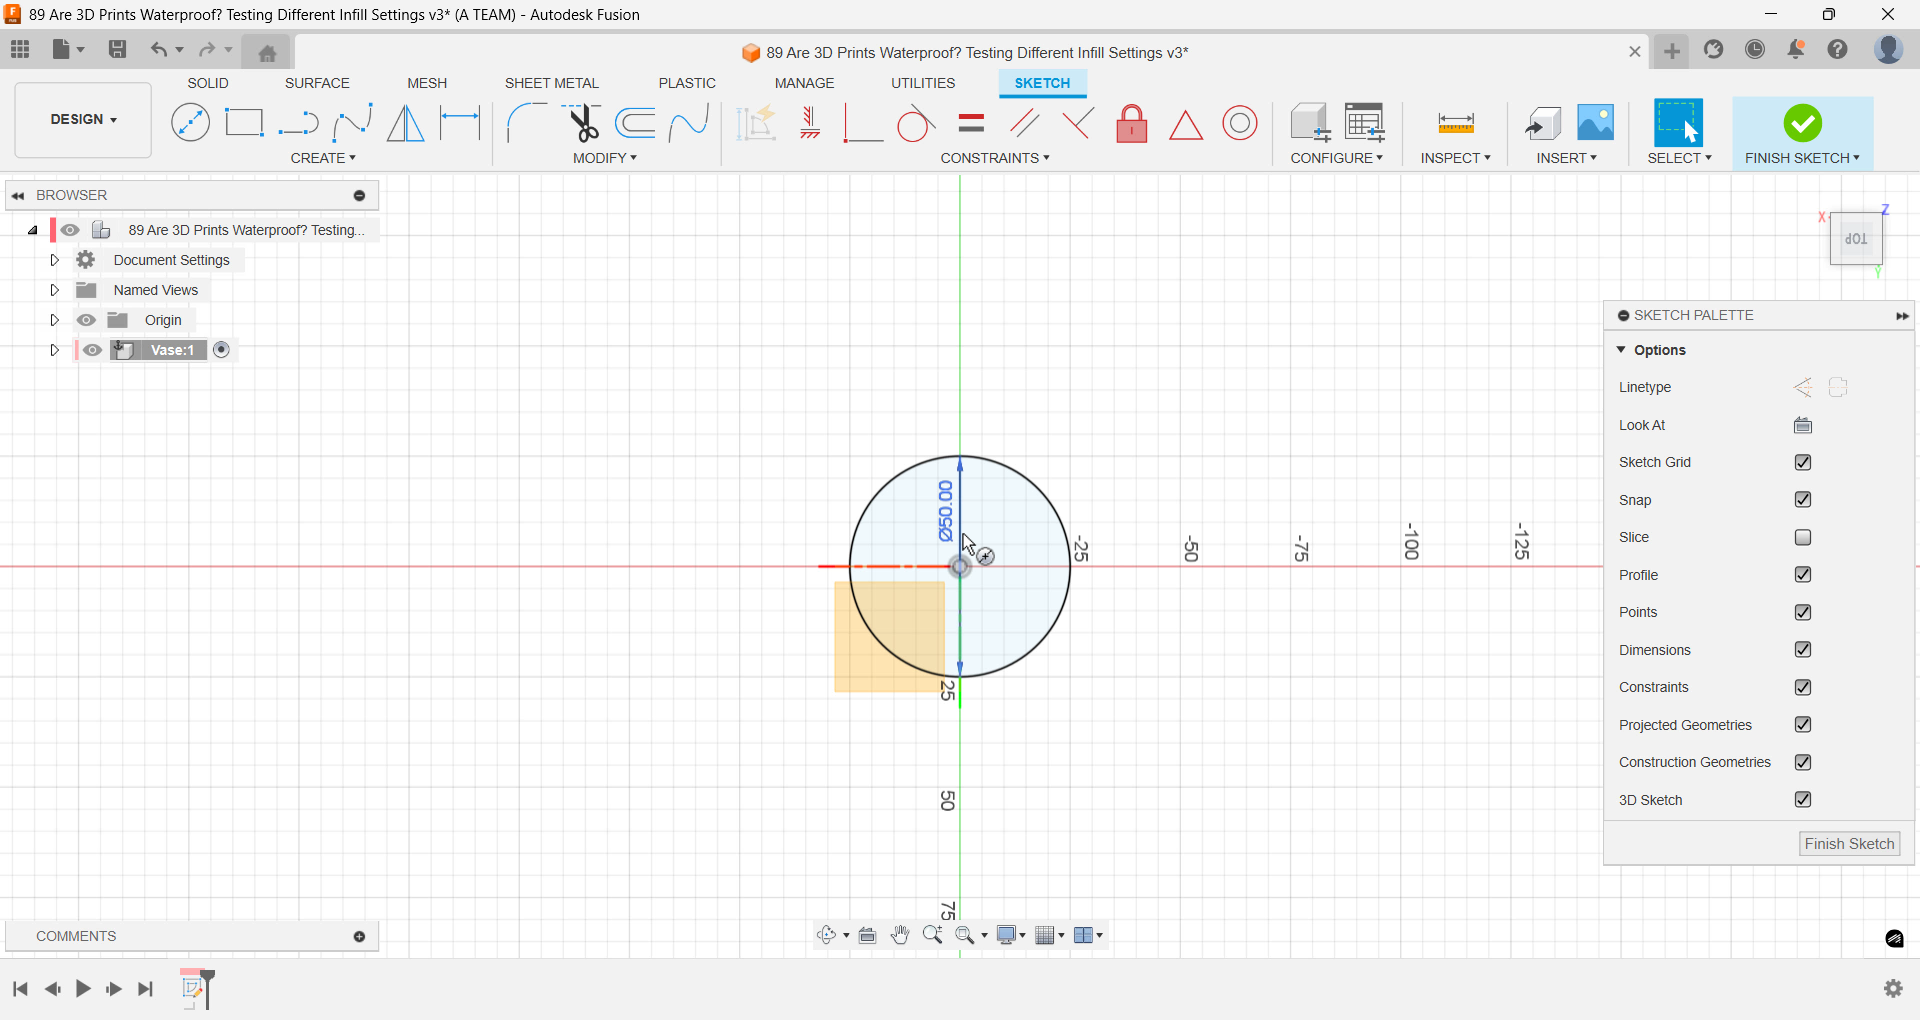
Autodesk Fusion workspace showing a top-plane sketch with a 50 mm diameter circle, defining the base of a vase model for a 3D printing test.
Use Extrude to pull the shape up 50 mm and set a 15-degree taper angle to create the flared form.
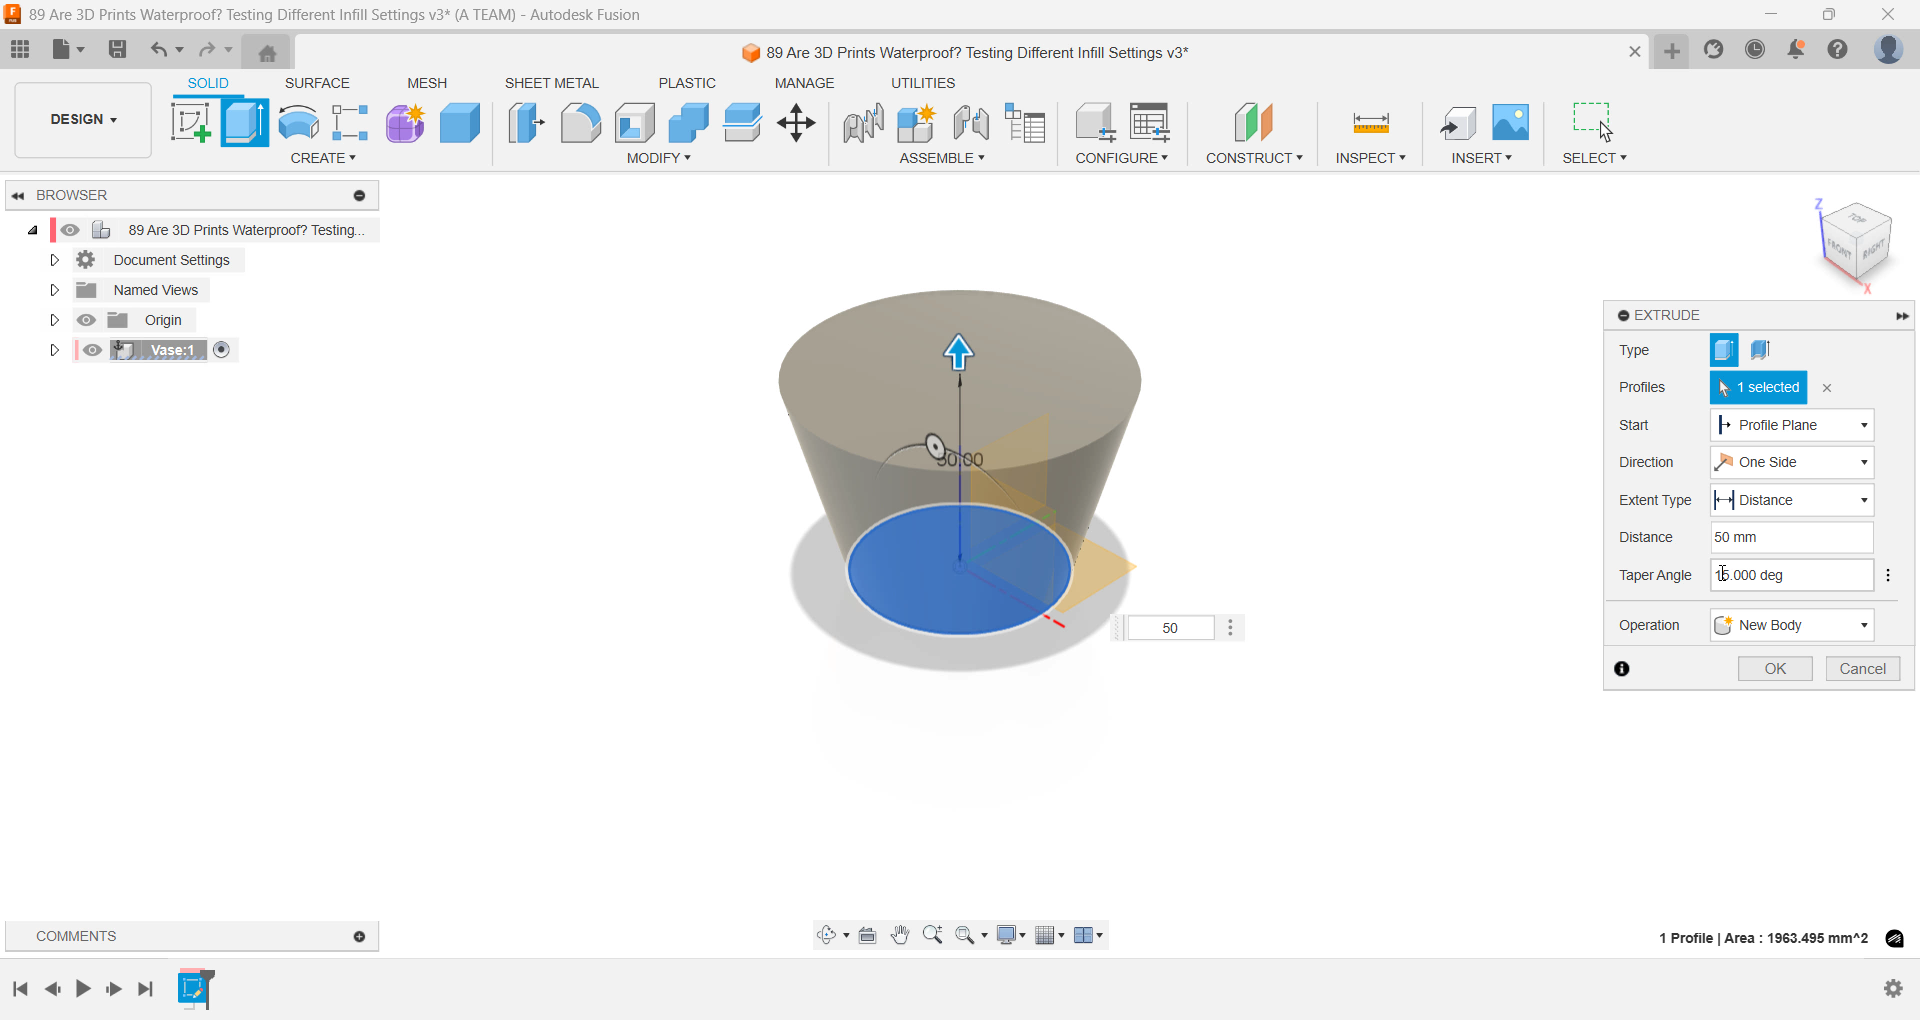
Extrude the circle upward 50 mm with a 15° taper to form the flared body.
Step 2: Hollow the Body with Shell
Next, use the Shell command.
Select the top face and set the inside thickness to 3 mm.
That hollows out the vase while keeping the bottom solid — important for our water test.
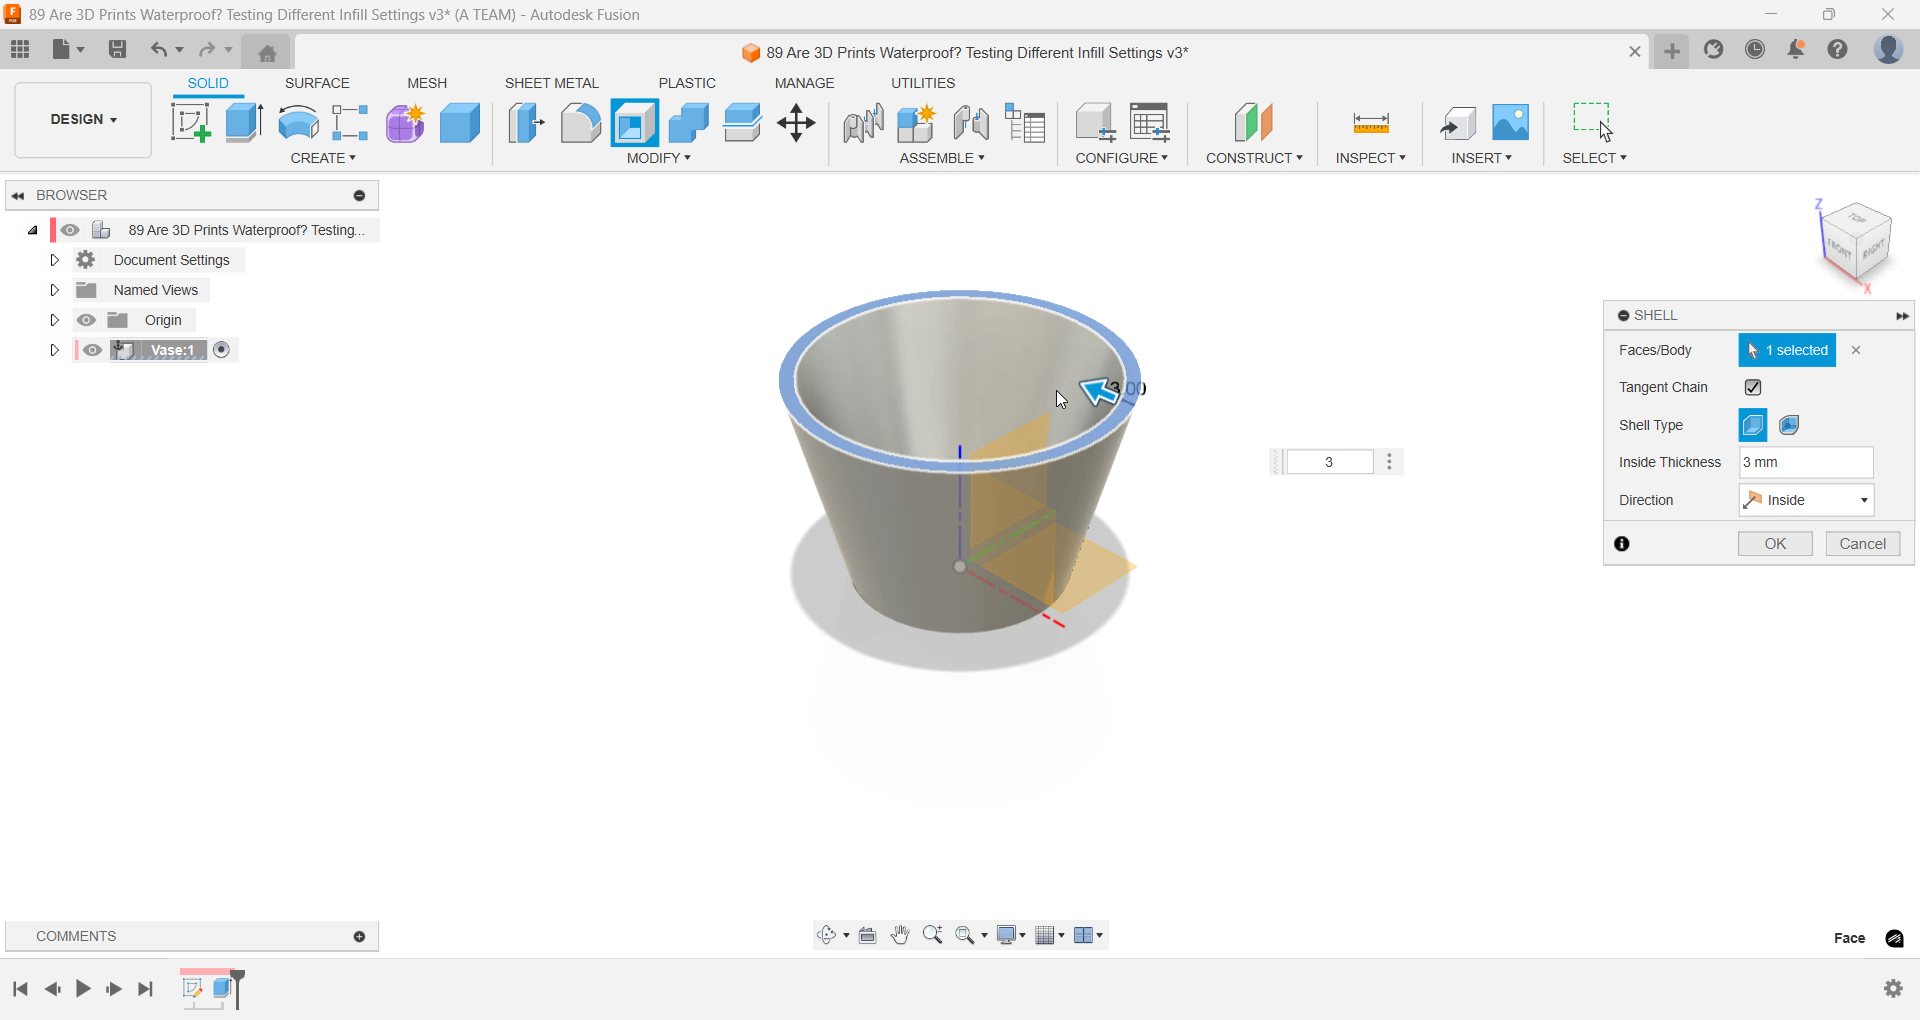
Autodesk Fusion workspace showing the Shell command being applied to a vase body. The top face is selected, and the inside thickness is set to 3 mm to hollow out the model while keeping the base solid.
From the top view, you’ll see a clean inner surface with the base still intact.

Top view after shelling — the vase’s hollow walls and solid base are clearly visible, ensuring a watertight bottom for the upcoming print test.
Finally, save the design and add a short version note, like “Before Export.”
Saving ensures your latest changes are included when exporting for 3D printing.
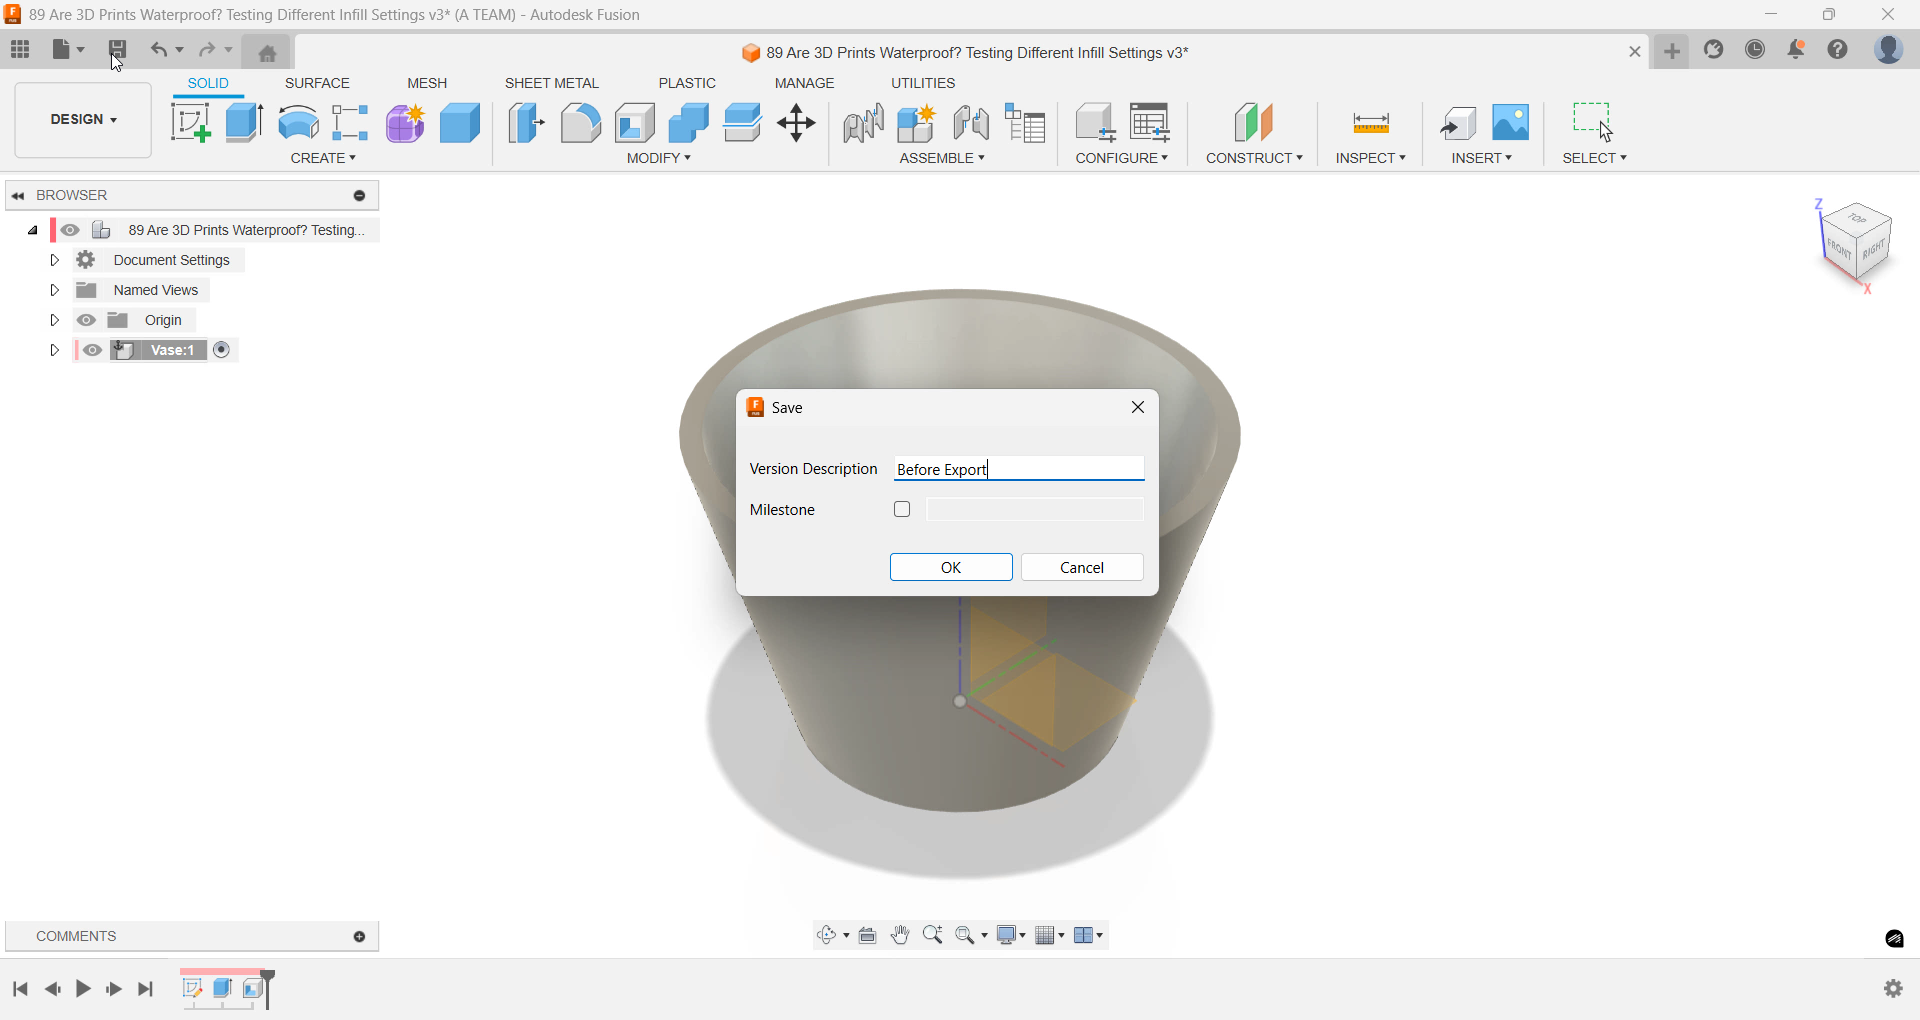
Autodesk Fusion interface showing the save dialog with a version description labeled “Before Export,” capturing the final step before exporting the vase model for 3D printing.
Step 3: Prepare the Prints in PrusaSlicer
Open PrusaSlicer and go to File → Import → Import STL to bring in the vase model.
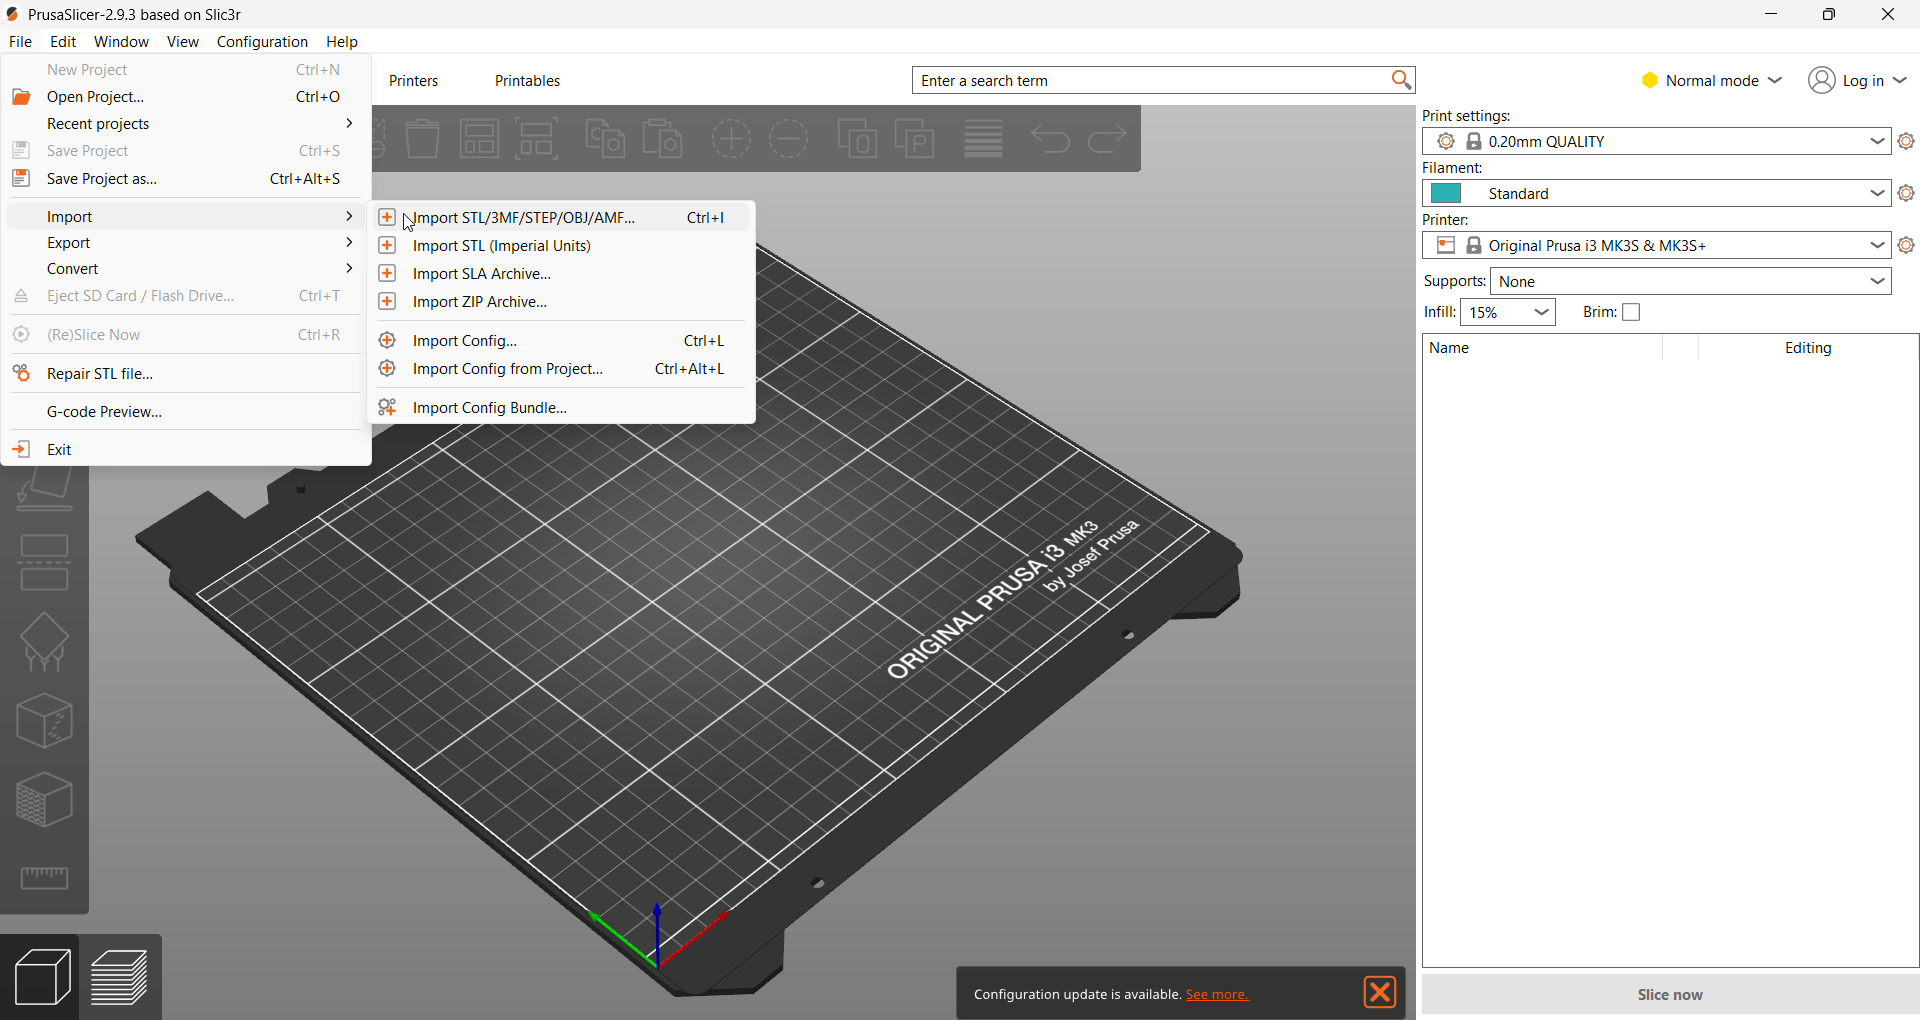
Screenshot showing the File → Import → Import STL menu in PrusaSlicer. This step brings the vase model into the slicer to prepare it for printing with different infill percentages.
We’ll print three versions:
15 % infill
50 % infill
100 % infill

Bar chart comparing print time and filament used for 15%, 50%, and 100% infill settings. It shows that 100% infill uses the most material but doesn’t necessarily take the longest to print.
At 15 %, the print takes about 2 h 45 min and uses just under 10 m of filament.
At 50 %, print time rises to 4 h 33 min, using nearly 12 m of filament.
That’s a big jump for a denser pattern.
When switching to 100 %, PrusaSlicer warns that the gyroid pattern isn’t designed for full density.
We switch to rectilinear, which uses straight crisscrossing lines instead of curved waves — creating a completely solid interior.

PrusaSlicer displays a warning message: “The Gyroid infill pattern is not supposed to work at 100% density.” The slicer suggests switching to the rectilinear pattern to create a fully solid model.
Surprisingly, the solid print finishes faster, in just under 4 hours, using about 14.5 m of filament.
So higher infill doesn’t always mean longer print times — but it does mean more material.
Export the G-code for all three versions.
Step 4: Print and Test for Leaks
I printed all three vases on my Prusa i3 MK3S+, the same printer I’ve relied on since 2021.

Photo of the Prusa i3 MK3S+ actively printing one of the vases. The print head is moving across the build plate while producing smooth, consistent layer lines at 0.2 mm height.
After filling them with water, I left them for five days — and none leaked.
So, extra infill isn’t needed to make a print watertight.

Close-up photo of a silver 3D-printed vase being filled with water. The test checks whether different infill settings affect the print’s ability to hold liquid without leaking.
Step 5: The Real Factors Behind Waterproof Prints
All vases were printed at 0.2 mm layer height with the same wall thickness, and that’s what made the difference.
Waterproofing comes from solid outer walls and bottom layers, not the internal infill.
More infill won’t help much if the shell is already solid.
You can save time and filament without losing waterproofing — as long as your print settings are tuned for strong outer walls.
That said, taller models with more water pressure might still leak.
In those cases, add more walls or bottom layers, not infill.
Step 6: Final Thoughts
This experiment shows that infill percentage barely affects waterproofing — the wall and layer settings matter most.
You can print faster, use less filament, and still get watertight results.
Step 7: Keep Learning
If you enjoy practical 3D printing tests and Fusion design projects, subscribe to The Maker Letters.
Also check out my video:
“This Simple Trick Builds a Perfect Honeycomb Pattern” — a quick and fun Fusion project with great printing results.
This project was created and recorded on my Lenovo ThinkPad (2019) — a reliable laptop that has handled all my Fusion design work smoothly. I recorded and edited the screen captures using Camtasia, which makes it easy to produce clear and structured tutorials. Both tools have been essential in bringing this project together from start to finish.